Latte art looks like a simple flourish, but it’s really a quality check you can taste. When the espresso is dialled in properly and the milk is textured right, you get a glossy surface that pours like paint — and that’s how hearts, rosettas, and tulips happen.
At Sunday Coffee, latte art isn’t “just decoration”. It’s the proof that our espresso extraction and milk texture are on point. If the crema is weak, the milk is too foamy, or the temperature is wrong, the pour won’t behave — and the coffee won’t taste its best either.
What Latte Art Actually Is (and Why It Matters)
Latte art is the contrast between espresso crema (dark) and microfoam (light). The goal isn’t “pretty” for the sake of it — the goal is a silky texture that makes the coffee taste sweeter, smoother, and more balanced. When milk is steamed well, it integrates with espresso instead of sitting on top like bubbly foam.
The Foundation: Dialled-In Espresso (Taste First)
Every clean pour starts with espresso that’s dialled in properly — and that means taste comes first, not a fixed number on a timer. Extraction time can change day to day because humidity, bean age, grinder temperature, and workflow all affect how the coffee flows.
That’s why we taste and test espresso every single day. Some mornings the perfect cup might run in 22 seconds. Other days it might be 27 seconds. The goal isn’t chasing a number — it’s chasing flavour: balanced sweetness, clarity, and a smooth finish.
If conditions change, we adjust the recipe. For example, we might increase our dose to 20.1g (or tweak the grind) to bring the extraction back into balance. Once the espresso tastes right, the crema becomes the ideal canvas for crisp, high-contrast latte art.
Milk Steaming Mastery
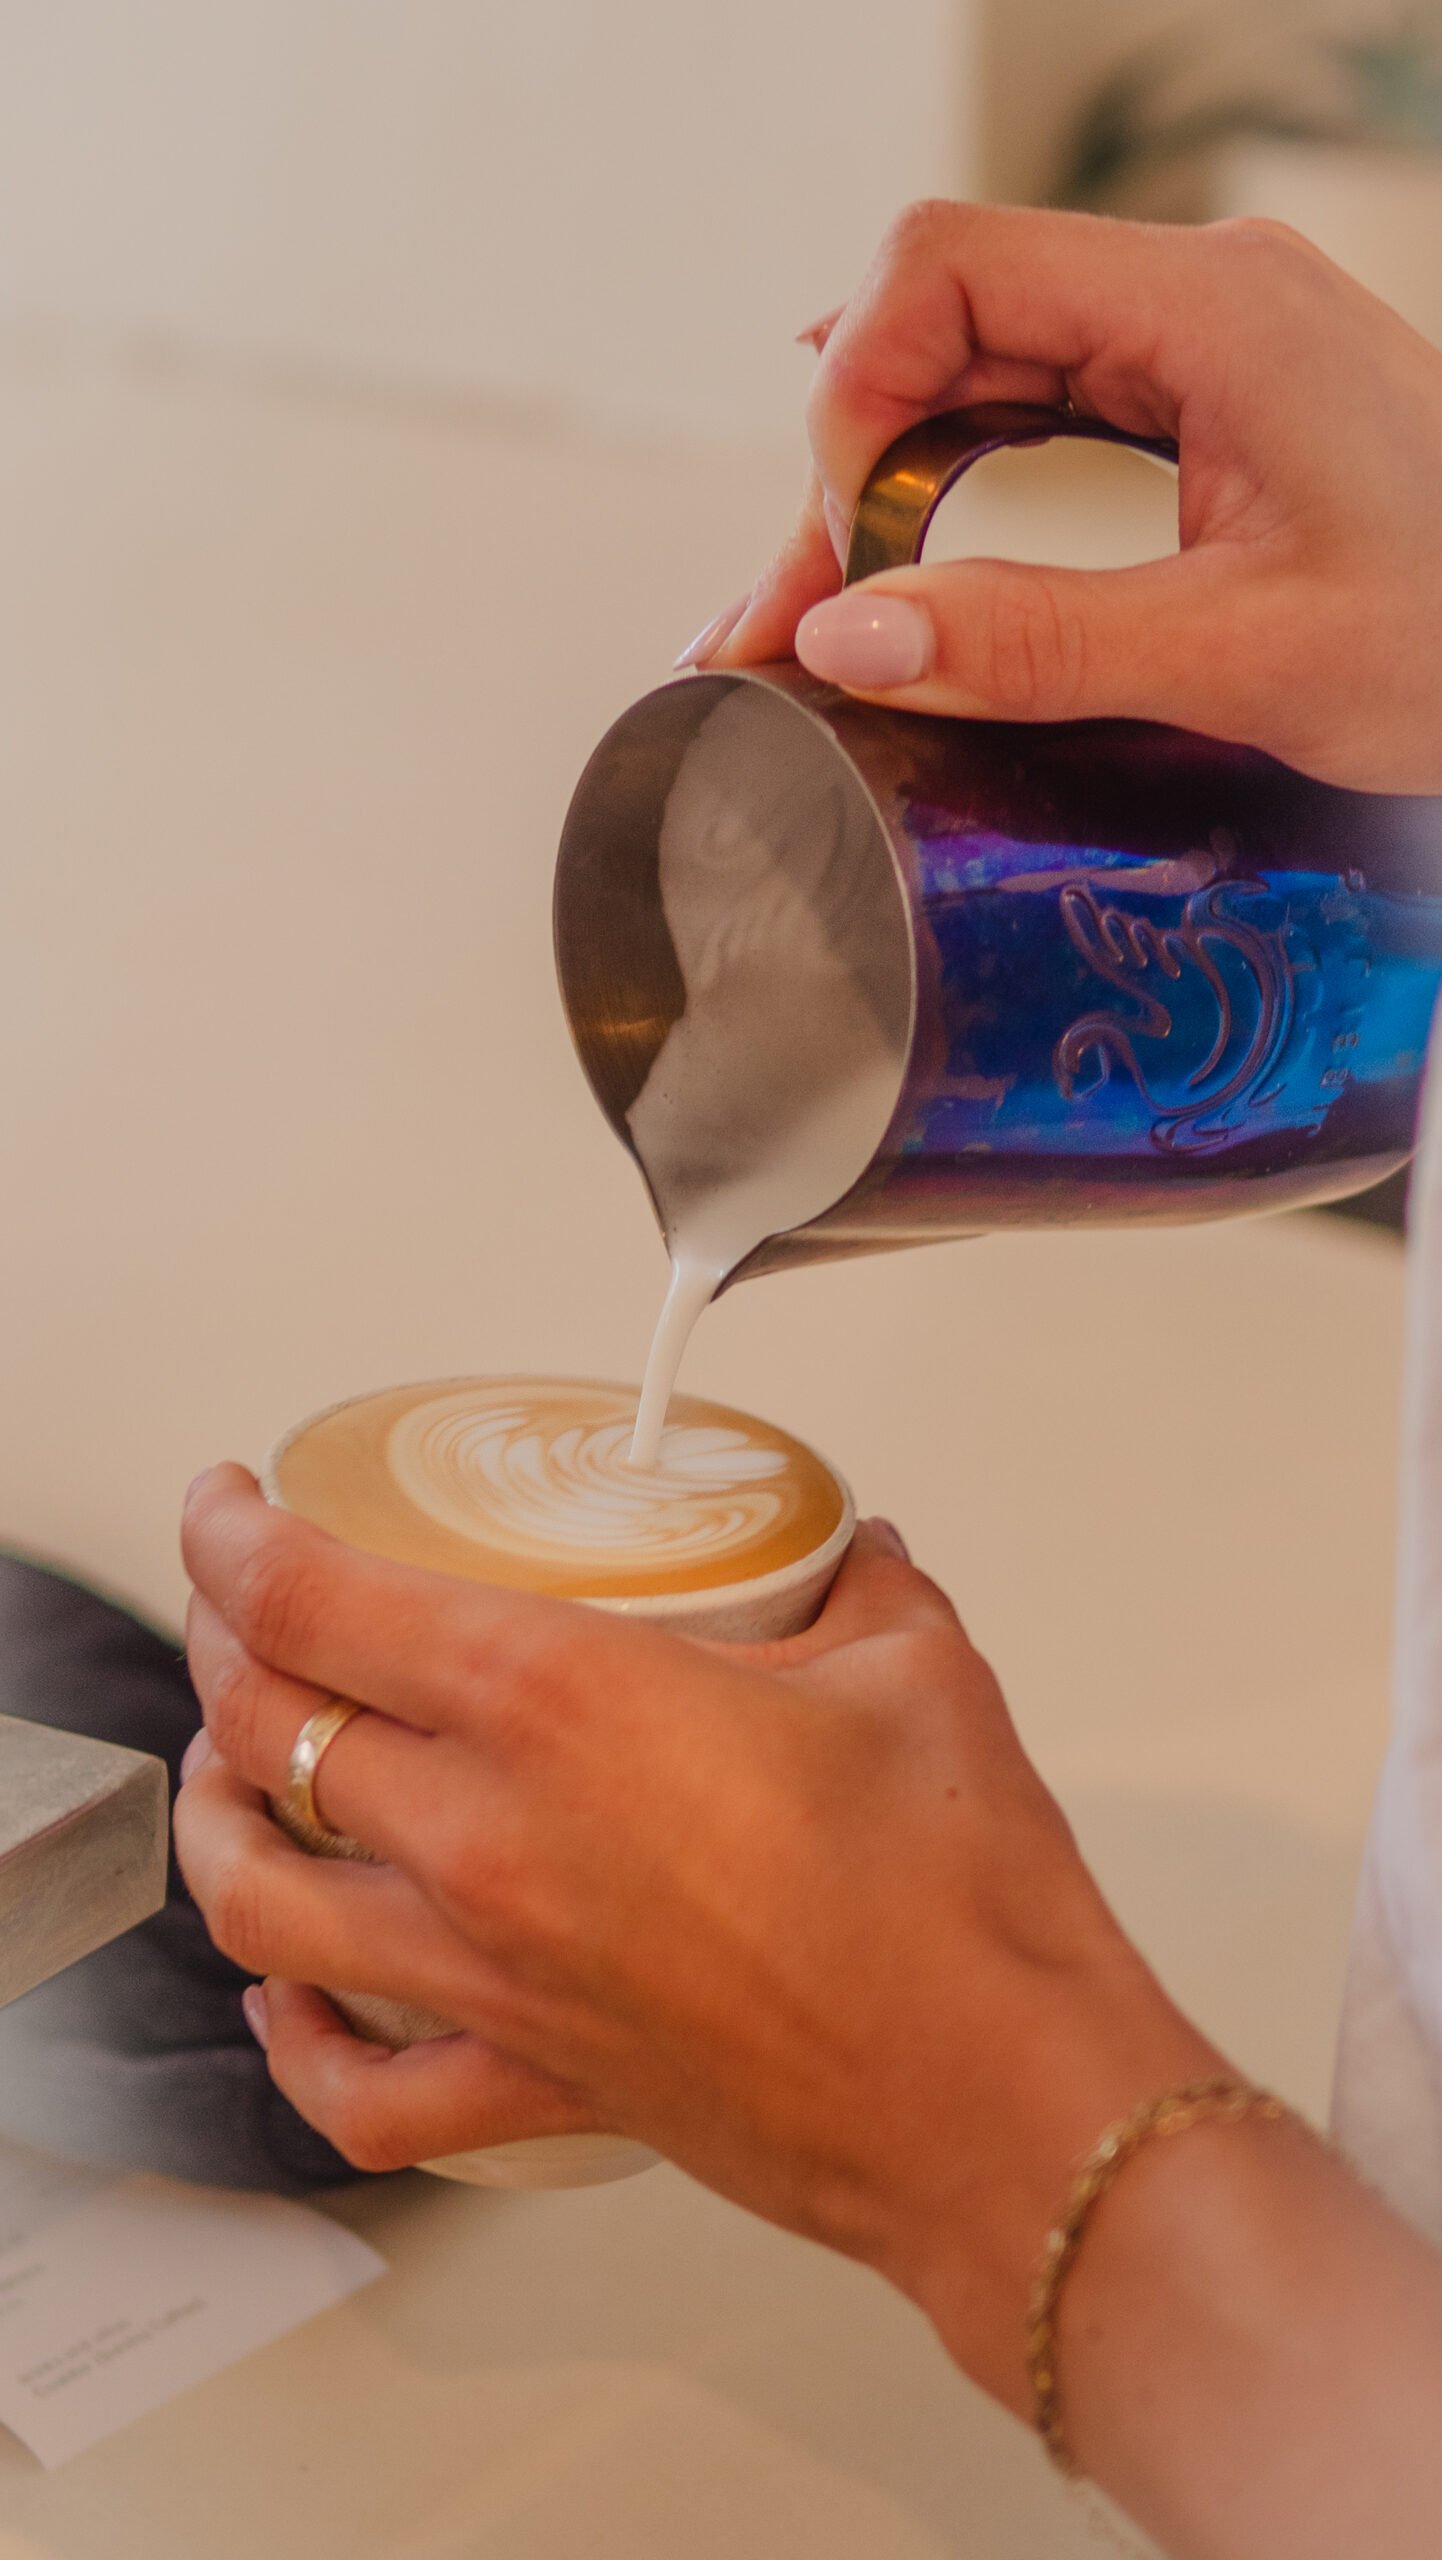
Microfoam is the whole game. The best latte art milk has a glossy sheen, tiny bubbles you can’t really see, and a texture that pours smoothly — like wet paint.
Step 1: Add air early (“stretch”)
In the first few seconds, we introduce a small amount of air. Too much air = stiff foam and big bubbles. Too little air = flat milk with no contrast. This part is quick and controlled.
Step 2: Create a rolling vortex (“texture”)
After stretching, we roll the milk so the foam integrates through the jug. This is what creates that silky, uniform texture that pours consistently. When the milk is right, it looks like glossy paint — smooth and bubble-free.
Step 3: Temperature matters
We generally aim for 60–65°C. That range keeps the milk sweet and smooth while still being hot enough to enjoy. Go much hotter and the sweetness drops off, the texture gets thinner, and the pour becomes harder to control.
The 3 Classic Latte Art Pours
If you’re learning latte art, these are the patterns that build the fundamentals:
- Heart: the best starting point — teaches contrast, placement, and finishing clean.
- Rosetta: the fern-like “wiggle” — teaches flow control and steady movement.
- Tulip: stacked layers — teaches timing and stop/start control during the pour.
Advanced pours (like swans or custom designs) still come back to the same basics: good crema, glossy microfoam, and clean control.
Common Latte Art Mistakes (and How to Fix Them)
- Big bubbles / stiff foam: too much air. Add less air at the start, then roll the milk longer to polish the texture.
- Pattern disappears: milk is too thin or poured too fast from too high. Get the milk glossier, and bring the spout close when you “draw”.
- Broken crema: espresso sat too long or wasn’t extracted evenly. Pour straight after extraction so the crema stays intact.
- Blobby, messy shapes: milk separation. Swirl the jug firmly before pouring to recombine the milk and foam.
How to Practice Latte Art at Home
Latte art is repetition. If you want fast progress, practice what actually changes your results:
- Practice milk texture first: chase “wet paint” texture — glossy, smooth, bubble-free.
- Swirl every time: swirl the cup (espresso) and the jug (milk) right before pouring.
- Control height: pour higher to mix, then bring the spout close to the surface to form the pattern.
- Pour with commitment: hesitation causes wobble and messy lines. Smooth and steady wins.
Watch Latte Art Done Properly at Sunday Coffee
If you want to see it in action, pop into Sunday Coffee at Buddina or Bokarina. You’ll catch our team pouring hearts, rosettas, and tulips all day — and if you’re keen, ask us about our occasional latte art workshops.
Next time you order, watch the milk: if it looks glossy and pours like paint, you’re about to get a cup that tastes as good as it looks.